Virtual Tour 2.0 Help (English)
Table of contents
System Requirements
- Operating System: Microsoft Windows (7 or 8); Mac OSX
- Memory: 2 GB
- Hard Drive: 8 GB (for DVD-version)
- Screen resolution: 1280x720 (recommended 1920x1080)
- DVD-ROM drive (for DVD-version)
- Broadband Internet connection (for online version)
Getting Started
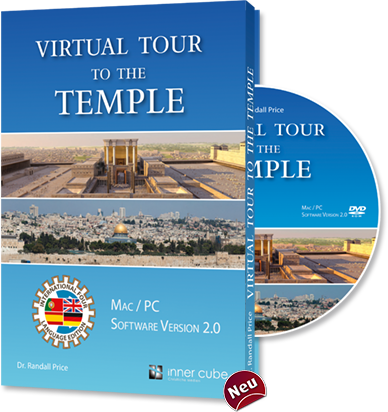
After inserting the DVD into your drive, open the folder with your preferred language.
| Click to enlarge an image. | Back to top |
Virtual Tour installation
Open the file Virtual Tour installer.
| Click to enlarge an image. | Back to top |
After about 15 seconds, another window will appear. Select the folder to which the Virtual Tour should be installed. In most cases, the suggested folder path is fine. Then click install.
| Click to enlarge an image. | Back to top |
Subsequently a window will open which copies all necessary files. This process could take between 10 and 45 minutes.
| Click to enlarge an image. | Back to top |
When the process is complete, click Close..
| Click to enlarge an image. | Back to top |
On your Desktop, you will now find a shortcut to start the Virtual Tour.
| Click to enlarge an image. | Back to top |
Virtual Tour activation
When you first start the Virtual Tour, you will be prompted to enter your code.
| Click to enlarge an image. | Back to top |
Make sure you enter the upper- and lowercase characters correctly. If you do not enter your code correctly, the following message will appear:
| Click to enlarge an image. | Back to top |
Run the Virtual Tour
Once you have successfully activated your Virtual Tour, you will be led to the main menu. Select your preferred language.
| Click to enlarge an image. | Back to top |
Select Virtual Tour to begin. If you select Videos, you will be brought to the video library. (Read more here)
| Click to enlarge an image. | Back to top |
You are now in our Virtual Tour! After everything has loaded, a welcome dialog will appear. Click Next to learn about the basic functions of the Virtual Tour.
| Click to enlarge an image. | Back to top |
Using the Mouse
Here is a brief guide on how to use the mouse within the Virtual Tour. Click Next to go to the next step of the introduction.
| Click to enlarge an image. | Back to top |
Quick Start Guide - Navigation
Here you will receive instructions on how to use the 3 different maps (Jerusalem, Temple Mount, Tabernacle) of the virtual tour.
| Click to enlarge an image. | Back to top |
On the map you can select the corresponding button which will be highlighted in yellow (see Figure 1). The blue Pano-Spot (see Figure 2) indicates which panorama you are currently viewing. In addition, the lower part of the map (see Figure 3) displays the location you are viewing.
| Click to enlarge an image. | Back to top |
Quick Guide for Symbols
| Click to enlarge an image. | Back to top |
After you've closed the last dialog, you will hear music playing in the background. Click the speaker at the bottom of the navigation to turn the sound on or off.
![]()
Enjoy your Virtual Tour to the Temple!
| Click to enlarge an image. | Back to top |
Videos
The Video Library
The Video Library contains all the videos within the Virtual Tour. Use the left and right arrows to navigate. If you have found the video you want to watch, click on its thumbnail.
| Click to enlarge an image. | Back to top |
Subsequently the video opens in a lightbox. Click on the X or the dark area behind the video to close it.
| Click to enlarge an image. | Back to top |
Are there any subtitles to the videos?
Yes. While a video is playing, move your mouse over the speech bubble below and choose your preferred language.
| Click to enlarge an image. | Back to top |
Why is the Video button not clickable and gray?
You are currently viewing a panorama which does not contain a video. Visit another panorama (Mount of Olives, Tabernacle, Tel-silo, e.g.) to play a video.
![]()
The Video button is automatically reactivated when a video is available.
![]()
Run the online version
To begin with, login with your username and password here. After successfully loggin in, download and install the required browser. Once you have started the Virtual Tour 2.0, you will be prompted to login again.
You are now in our Virtual Tour 2.0. Enjoy your journey!
| Click to enlarge an image. | Back to top |
Frequently Asked Questions
How can I change the language?
At the bottom of the screen you will find the navigation bar with different options. Click the Home button to go back to the language selection.
How often can I reinstall the Virtual Tour?
You can install your code with the Virtual Tour up to 3 times again.
Is it possible to send feedback?
Yes please! Just click the Feedback-Button and tell us what is on your mind. You can also send feedback via the contact page. We are happy to improve our products for the future. Thank you for your efforts!


